Table of Contents
Handmade Glide Bait introduction
Hand-crafted lures are a symbol of the pursuit of individuality and superior performance. Making your own glider not only customizes its appearance and action, but also ensures that a unique product is tailored to your specific fishing needs. This comprehensive guide will cover everything from the materials needed and the making process to testing and fine-tuning hand-crafted glide lures.
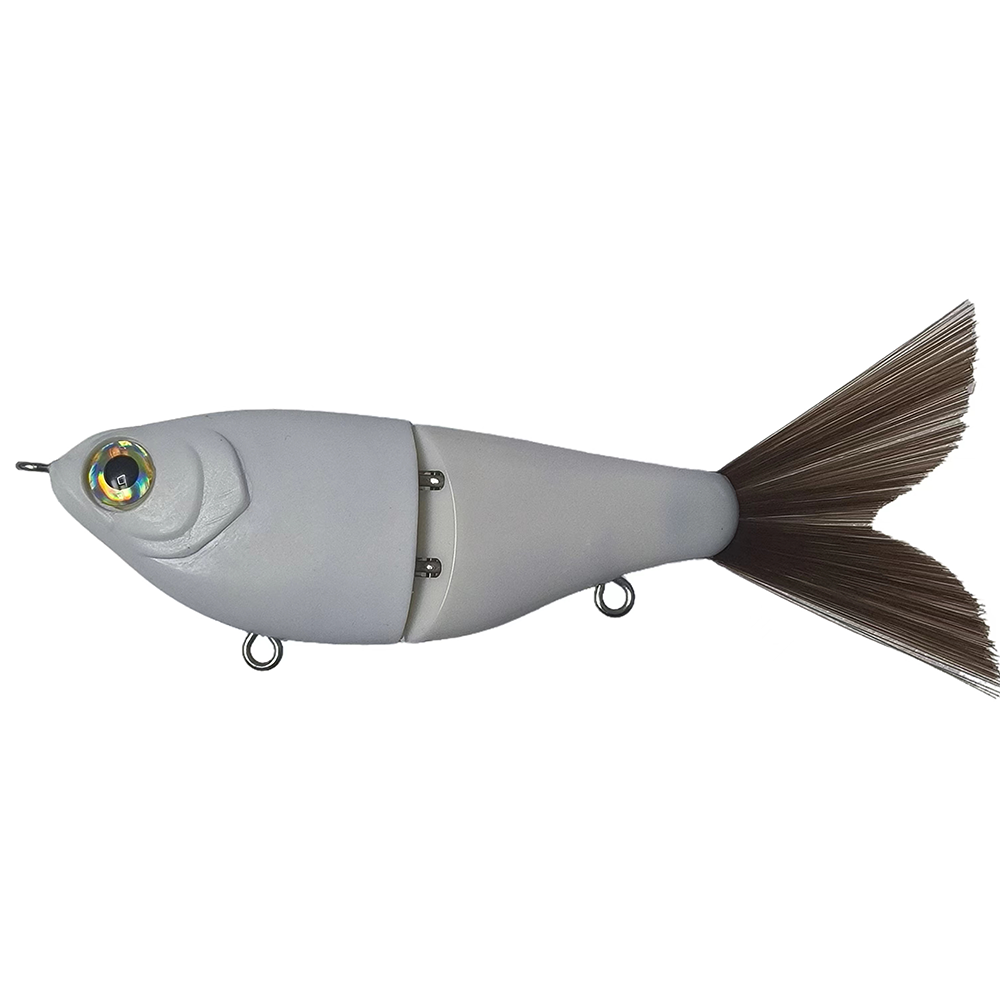
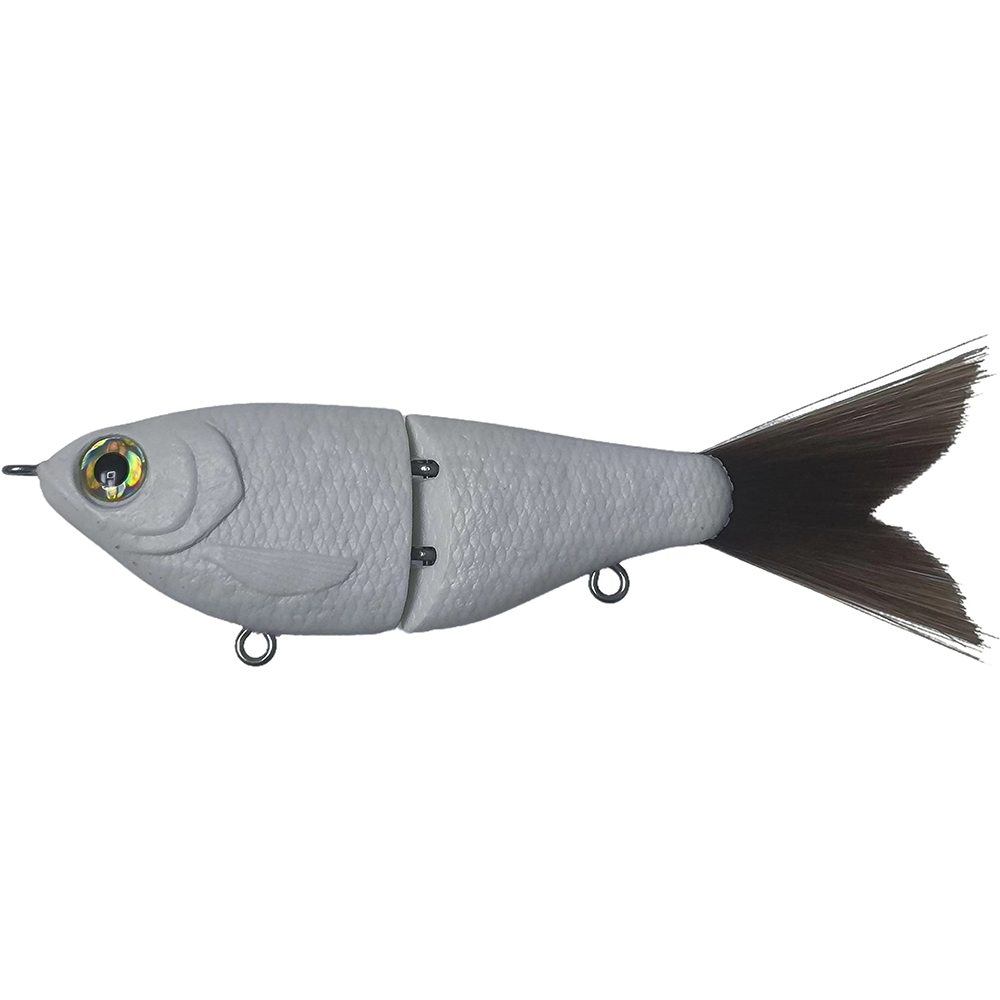
Hand-made gliding lures are customized lures that mimic the natural swimming movements of bait fish. Unlike mass-produced lures, hand-crafted lures give anglers complete control over the design of the lures, ensuring that the product can be tailored to specific fishing needs, appearance and preferences. Making your own gliding lures is a fulfilling and satisfying hobby, and using your own lures for fishing can make a difference in the fishing experience.
Materials and tools required
Materials:
Hardwood, high-density foam or plastic as the main body
Lead or tungsten for counterweight
Stainless steel wire for hooks and ties
Open loop and tweeter hook
Epoxy or Marine grade sealant
Paint and varnish
tool
Carving knife or rotary tool
Sandpaper or sand block
Drill and bit
Pliers and wire cutters
Air brush or paint brush
A measuring scale for accurate weighing
Design your bait
Shape and size
The shape and size of the glider bait should be very similar to the local bait fish. The streamlined bait body with a wide flat surface can achieve wide sliding action. Popular shapes include herring, bluegill and small fish shapes. Take into account the typical size of bait fish in your area and choose the right bait accordingly.
Weight and balance
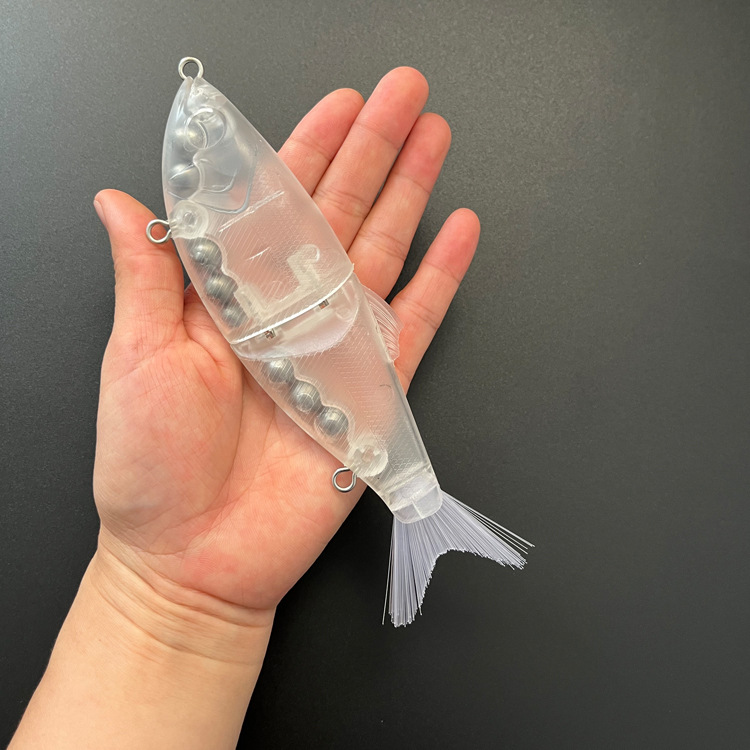
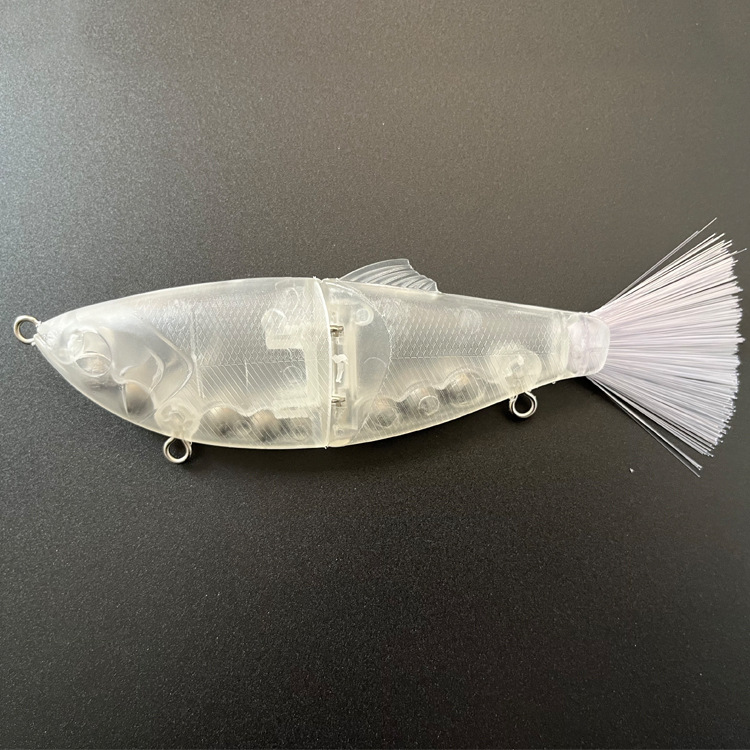
Proper counterweight is essential to achieve the desired gliding motion. Place a counterweight on the belly of the bait to ensure that the bait sinks horizontally and glids smoothly. Experiment with different counterweight positions to achieve perfect balance.
Color and finish
The color and finish of the glider bait should match the natural prey in the fishing area. Use realistic paint schemes to mimic local species of fish. Consider adding reflective or holographic finishes to improve the visibility of the bait in the water.


Make handmade glide bait
Carved bait
First outline the glider’s shape on a block of wood or foam. Use a carving knife or rotary tool to shape the bait to ensure a smooth surface. Polish the bait to achieve a polished effect.
Add weight and hook
Drill a hole into the belly of the bait and insert a lead or tungsten weight. Secure the counterweight with epoxy or Marine grade sealant. Make sure the hooks are firmly embedded in the fish.
Paint and polish
Apply a coat of primer to the bait body to make it smooth for painting. Use an airbrush or paintbrush to apply the base color, then apply details such as scales, gills, and eyes. Seal the finish with varnish to protect the finish and improve durability.
Test and adjust the glider bait
Fish tank test
Test the glider in a tank or pool before putting it in the water. Observe its sinking speed and swimming motion. Notice any unbalanced or undesirable movements.
Field test
Take the glider bait to a local fishing spot for field testing. Try different recovery speeds and tricks to see how the bait performs under real conditions. Pay attention to how the bass responds to the bait.
Adjustment and adjustment
If the performance of the glider is not satisfactory, adjust it. This may include increasing or decreasing the weight, changing the hook size, or modifying the bait body shape. Repeat the test until the bait achieves the desired effect.
Successful use of hand gliding bait skills
Match local bait
Research the local bait fish and match the color, size, and action of the glider bait to the bait that the bass are feeding on. A realistic presentation will increase the chances of attracting a bass attack.
Seasonal factor
Adjust glide bait design and technique according to the season. In colder months, use slower fishing speeds and smaller lures. In warmer seasons, larger lures and more aggressive action are available.
Recycling technology
Mastering different drawing techniques can greatly improve the effect of gliding bait. Try to use steady retrievals, pauses, and twitches to mimic the behavior of injured or fleeing baitfish.
Summarize
Handmade Glide Bait are a fun process that allows anglers to create efficient, personalized lures. By understanding the materials, design principles, and testing methods, you can create sliders that perform well in a variety of fishing conditions. Whether you’re an experienced angler or an amateur, the satisfaction of catching a bass with your own bait is unparalleled. I wish you a happy production, good luck!
We are a Chinese fishing tackle manufacturer with 18 years of experience, we are able to meet any of your fishing and tackle sourcing and customization needs, please feel free to contact us! Please submit the form and our team will contact you shortly!
